
Frog Mini
Around this time last year, I had vetted some interest in Geon’s Frog Mini Leggera thinking they had brought back one of their best value boards but in even more approachable, cheaper form, only to be disappointed by a lot of hidden cut corners between quality of aluminum and a useless “weight” that didn’t even get much better after making my own. Over time, I did finally find the o-ring board to end my actually usable o-ring hunt, and my sights were set on trying to get a proper Frog Mini. Eventually I got a really nice hook-up of $125 shipped that I felt was just borderline robbery, so I sweetened it a bit up to $150 to at least cover shipping, but I almost still feel bad for taking it for that cheap, because this thing delivers so hard.
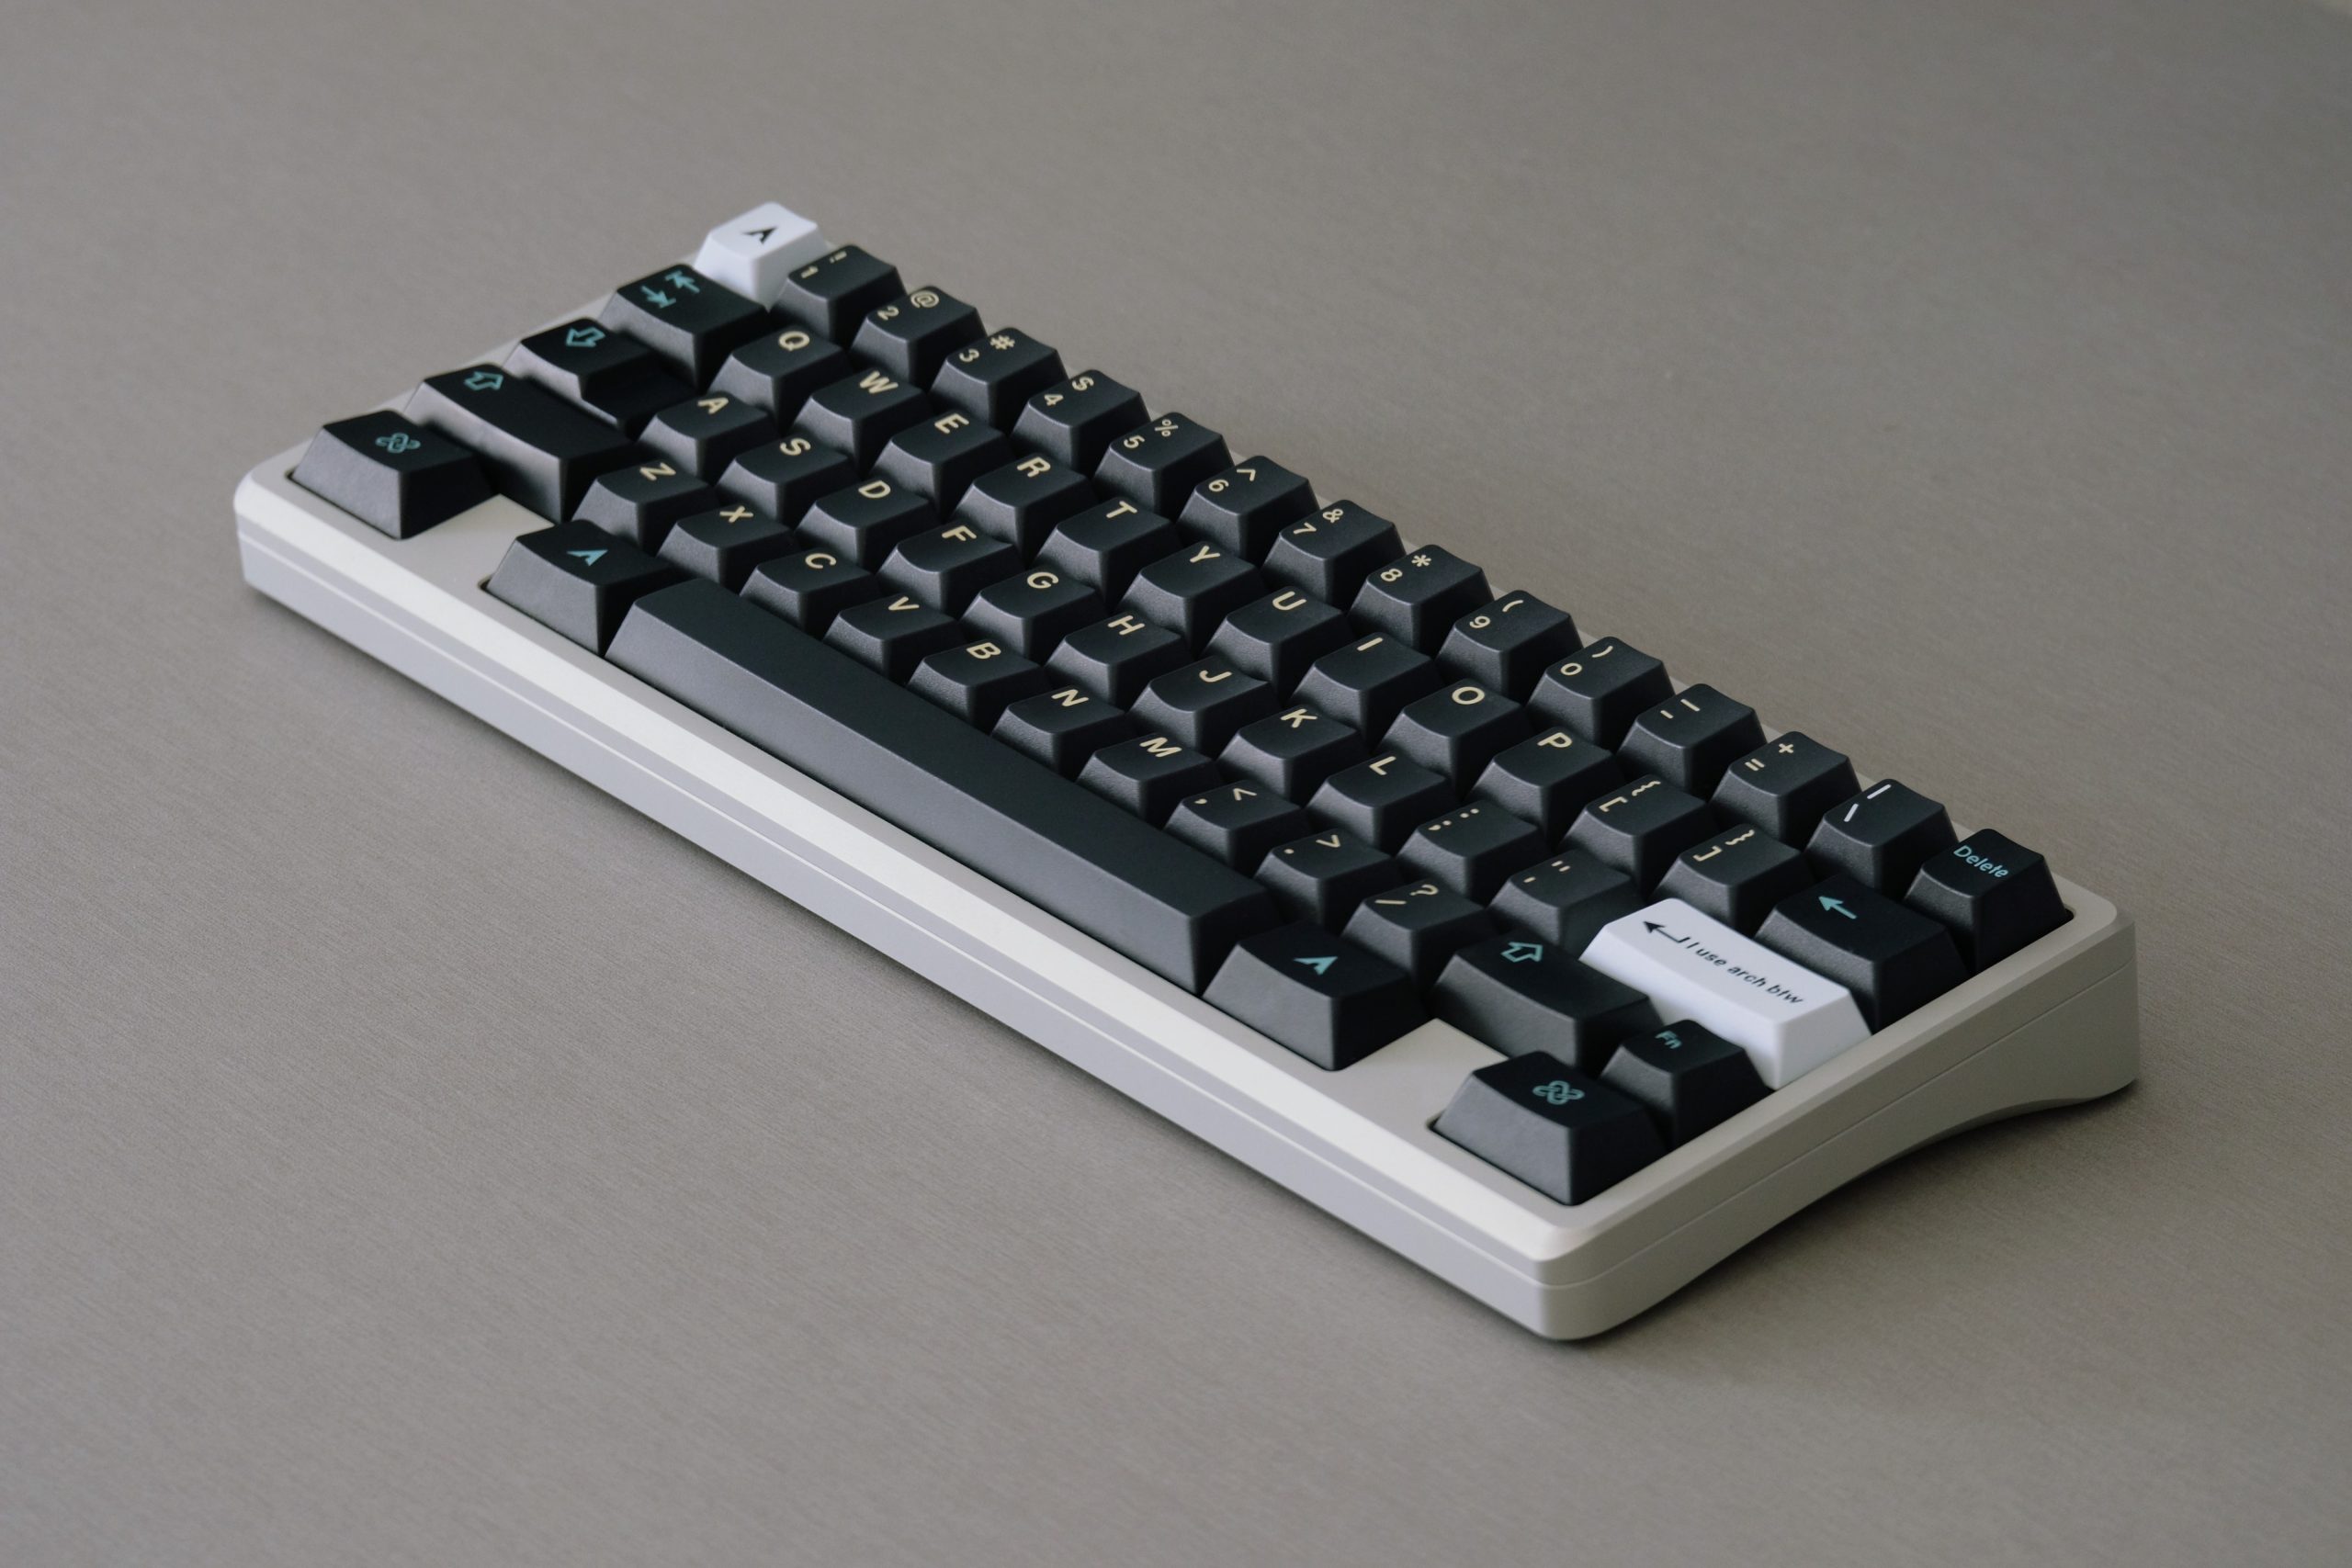
Design/Aesthetics
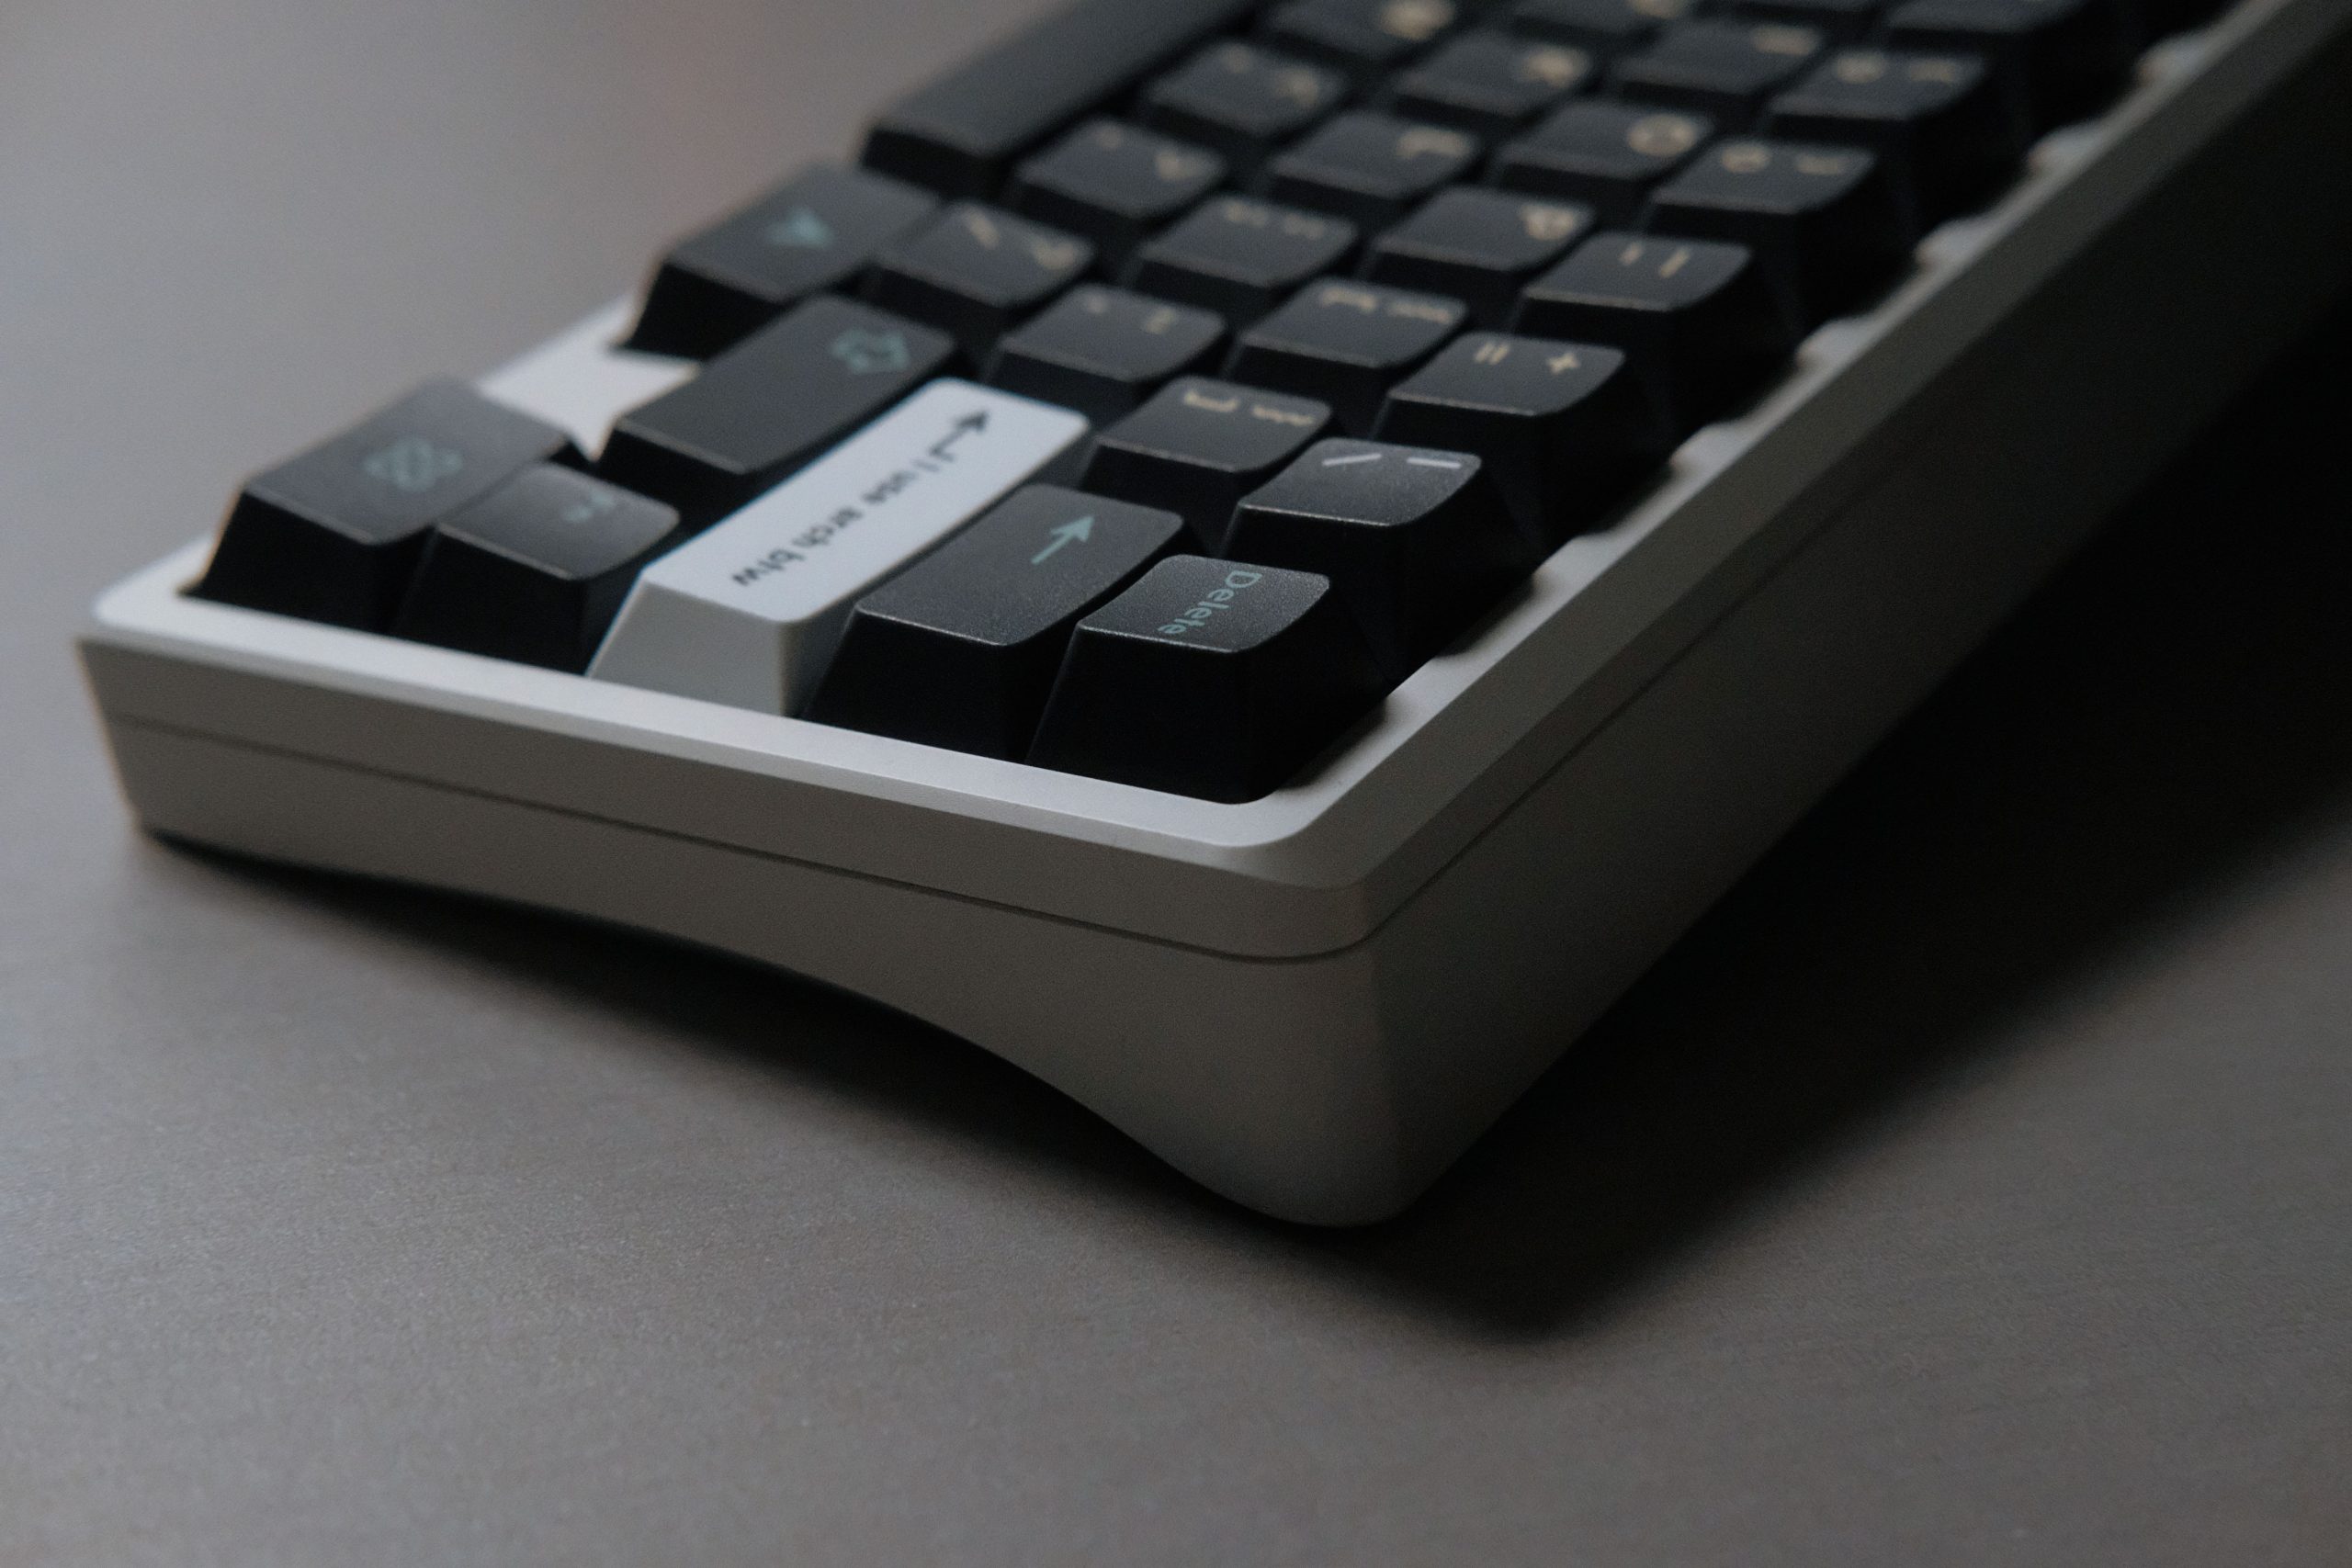
The Frog Mini is the second entry in Geon’s Frog lineup, meant to be the more approachable line versus the F-series, Glare lineup, or the weird one-offs like the W1-AT. Its design largely remains the same as the original Frog TKL, just in a more compact shape, composed of a two-piece seamed case with a Koala-style curve, pretty reserved bezel sizes chamferred pretty shallow on the front and back, and the cornerstone of the entire project: a wide internal/external weight with probably the worst interpretation of how to write the word “frog” embedded in. It also comes with the signature case-wide, very flat Geon push-in feet that should rather quickly be replaced in favor of bump-ons if you don’t want each keypress to sound like your fist hitting the desk.
Assembly
The Frog Mini follows a pretty standard gasket mounting build experience, potentially easier than most people are used to because of the lack of daughterboard in this case. To access the case, 6 hex screws are hidden underneath the rubber push-in foot strips, which then release the top case. Disassembled, you’ll also see two alignment platforms on either side of the bottom case which are recommended force break points for this board (a very similar problem i ran into with my own board) as well as the interior weight which showcases some decently varied geometry that does help contain resonance.
Rather than the typical poron adhesive trips you see in traditional gasket mounts, the Frog Mini uses tadpole gaskets which are very phallic-looking that assemble similar to a top mount but with a squishy screwhead, essentially resulting in a mount where horizontal movement is restrained by the top case, and the vertical moment by the bottom case, which results in a very minimal-contact but still structured mount that gives the pop of gasket but the fullness of top mount. Notably, the Frog Mini omits mounting points near the spacebar unlike that of the Frog TKL, which was a painpoint to the sound profile of the TKL.
PCB and Firmware
The Frog Mini by default doesn’t come with a PCB, rather being universally compatible with the GH60 footprint (which includes the wooting but you need an appropriate plate for this), but it did come with a couple options for a solder and a hotswap PCB designed by Gondolindrim, known PCB mad scientist. Mine came with the Hotswap PCB which isn’t too far from the typical modern 60% PCB, but does omit a few options. First, what it comes with, is the standard Backspace and RShift fixings of either full or split, fairly normal. It also has the Esc and 1 keys rotated 90° each way to make room for the USB connector underneath, which for R1 keys is not really a big issue. Onto its (very minor) shortcomings, the PCB does come in stepped caps and 7u bottom row, but only stepped caps and 7u bottom row, with no full caps or 6.25u options on the board. I’ve seen boards be only 6.25u or 7u only, but not having full caps is certainly a new one. Otherwise, it’s a perfectly fine 1.6mm FR4 PCB that is flashed with Via-ready QMK.
Typing Experience
Fashioned after a Korean custom keyboard, the cheat code sound is obvious: MX Blacks (or Browns) on an aluminum plate. It’s exactly as you expect; a very bright, rounded tone with the signature sharp and full spacebar of a Cherry switch. It does lean slightly softer in the sound compared to some of my other favorites, but it’s a sound profile that is greater than the sum of its parts, for sure. In the future I would certainly like to try a half-plate build as well as a Wooting build just for shits and gigs, but I’m incredibly satisfied with what I have as my first build.
Feel-wise, using the 90A tadpoles is a fair bit more stiff than your average gasket mount board, probably more comparable to a plastic top mount like PC or PP. Regardless of that, the low front height (Geon’s website reports 16.5mm but it’s more like 18.5mm by the front of the keycap) in combination with the 6° typing angle makes for a very comfortable board that you don’t want to put away.
Overview
The Frog Mini might be where I end my Geon journey, and it’s a very strong place to put a stop to it. The Frog Mini Leggera was a major disappointment, the F1-8X V2 was an absolute joy, and the Frog Mini solidified the statement that Geon puts out into the keyboard space. In many ways I think the F1 gets outshone by the Frog Mini in terms of approachability and design, but they both trade blows for sound and feel in my opinion. I will further double down that the Frog Mini Leggera is simply not a board that should be considered because of its glaring issues with material quality and sound, and I also wait with great anticipation to see reviews of the TKL Leggera to see other people dunk on it, as the original already wasn’t great.
Obviously I have a bias towards the Frog Mini in that I paid a measly $150 for it, and I would almost gladly pay $300 for it, but you are more likely to find it and should probably lean closer to $200-$250 when you buy secondhand.
| Frog Mini |
|---|
 |
| Case Material • Aluminum (Case, Mid-piece) • Brass (Internal Weight) |
| Plate • Aluminum |
| Mount • Tadpole Gasket Mount |
| Included Parts • Case • 50A Tadpoles |
| Cost • $265 case • $45 Hotswap PCB (bought for $150 secondhand) |
| Release Date • 2022 |


Gallery
Last Article Update: 2026/03/16
This article is not sponsored or compensated for in any way. This article falls under Fair Use and adheres to the Copyrights of the mentioned brands. Any mistakes, feedback or clarifications may be directed to askme@cheesemanfuu.com.