
The Biggest Keyboard Fix: Your Stabilizers
Listen along! Listen to a live recording of this article:
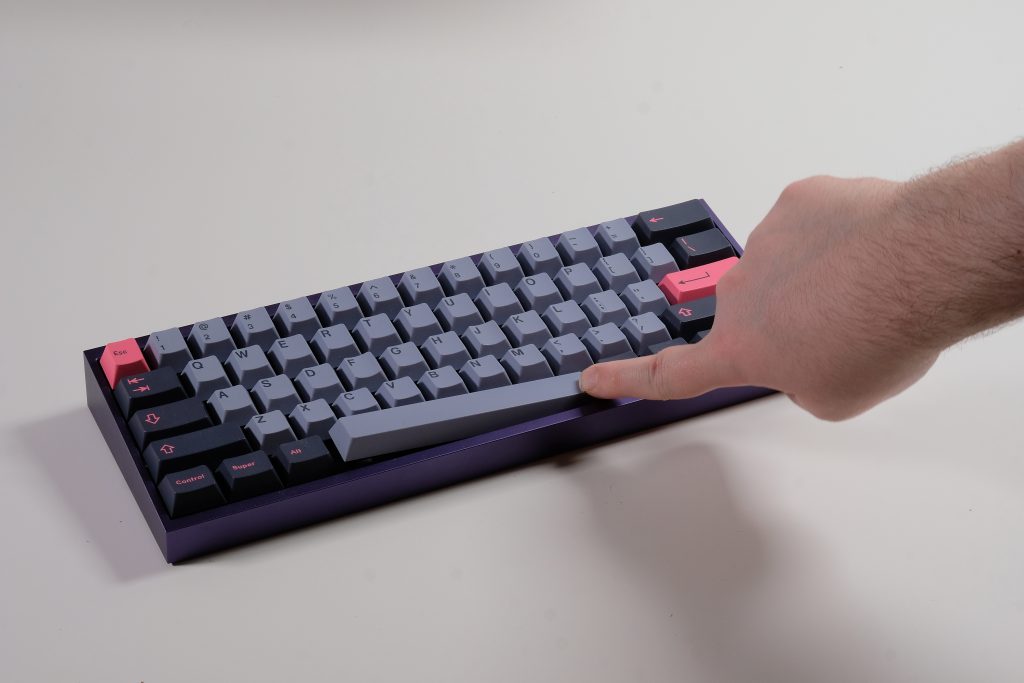
Mail day for a keyboard that you’ve been waiting for is always a treat and like a mini-Christmas as you wait in great anticipation for that delivery notification. However, a new, shiny keyboard is just half the battle. Whether you’re buying a keyboard off the shelf, buying it from one of the handful of popular drop-ship e-tailers, or participated in a luxury keyboard group buy, there is more than likely a decent checklist of small chores you might prefer to do to get the best experience out of your new office noisemaker. This article will be one of many that go over the things I do to aide the building process and ensure the best end product.
Types of Stabilizers
The topic of stabilizers is probably the most concise but debatably also most important aspect of any build. Stabilizers when left untreated are likely to make-or-break your build even if everything else is otherwise pitch-perfect, as the rattle emitted from the loose wire jumping around in the plastic stem comes off as unclean, unrefined, and clanky. Don’t get me wrong, it does still do its job and your keyboard will be fully functional, but the goal is typically to eliminate those dissonant sounds that don’t allow you to appreciate the switch and keycap combo on the specifically designed keyboard case, and well-tuned stabilizers are probably the biggest difference you can make.
The first thing to determine with your stabilizers is what type are being used, as while the philosophy and goal is pretty universal, the process may differ. As of writing this article, there are two styles of stabilizers you may run into:
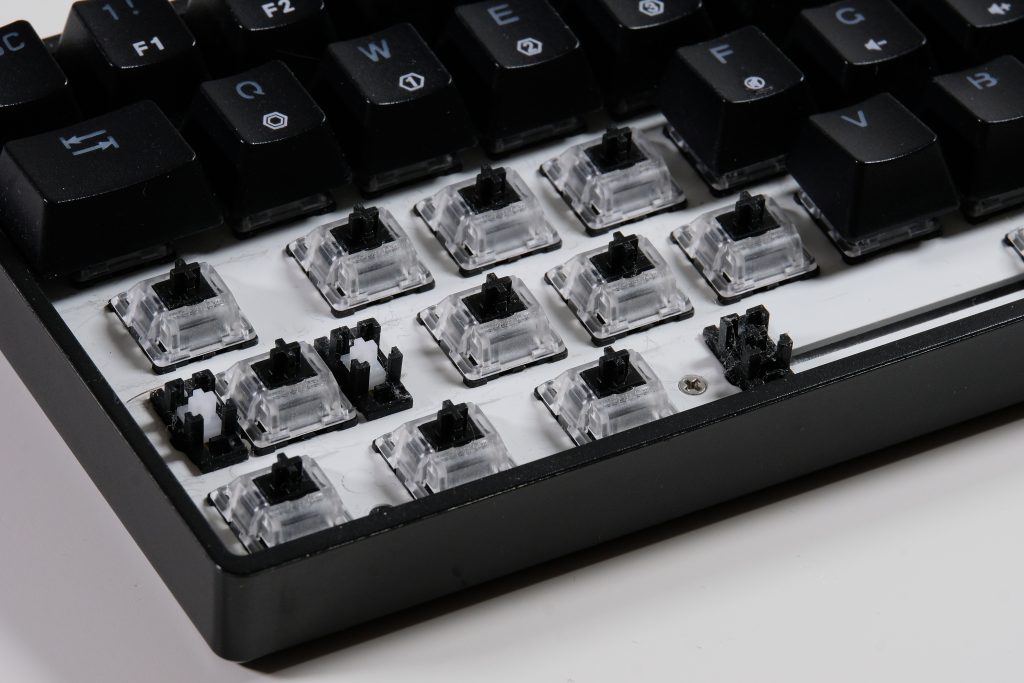
The Cherry design which acts more like a pair of switches tethered by a metal wire, with the stems attaching to a keycap that also attaches to the primary keyboard switch, likely in the center between the two stabilizer stems. With this structure, as the keycap is depressed and brought back up, the wire moving on one end also moves the other end, keeping both sides at just about the same height to avoid seesawing which, if you’ve never tried to press down a spacebar that is not stabilized, you probably should to get a pretty acute understanding of why that’s bad.
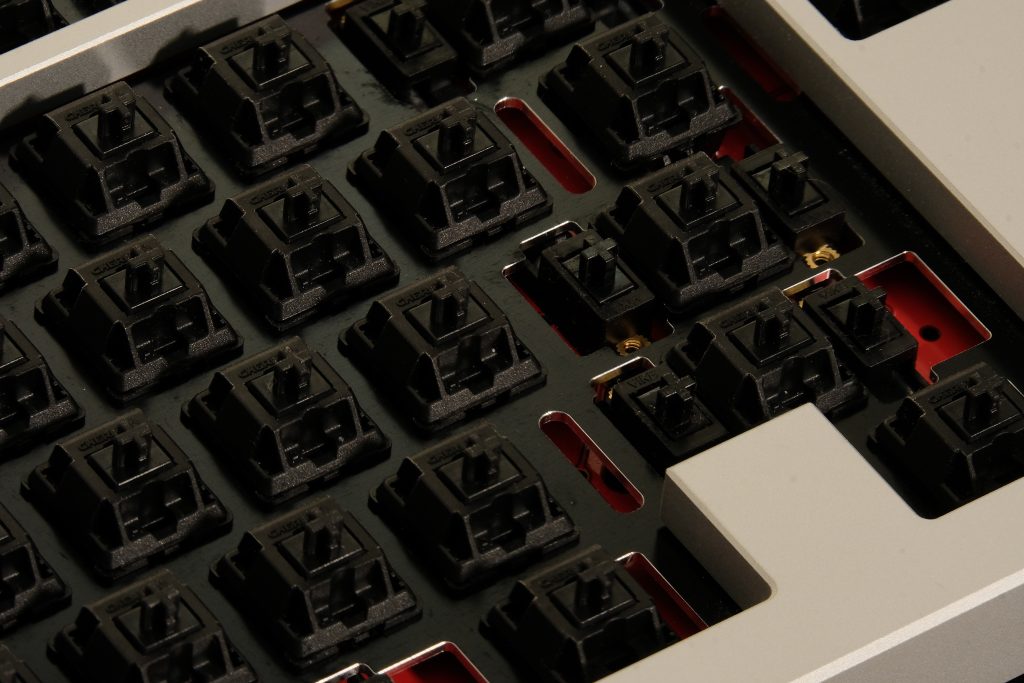
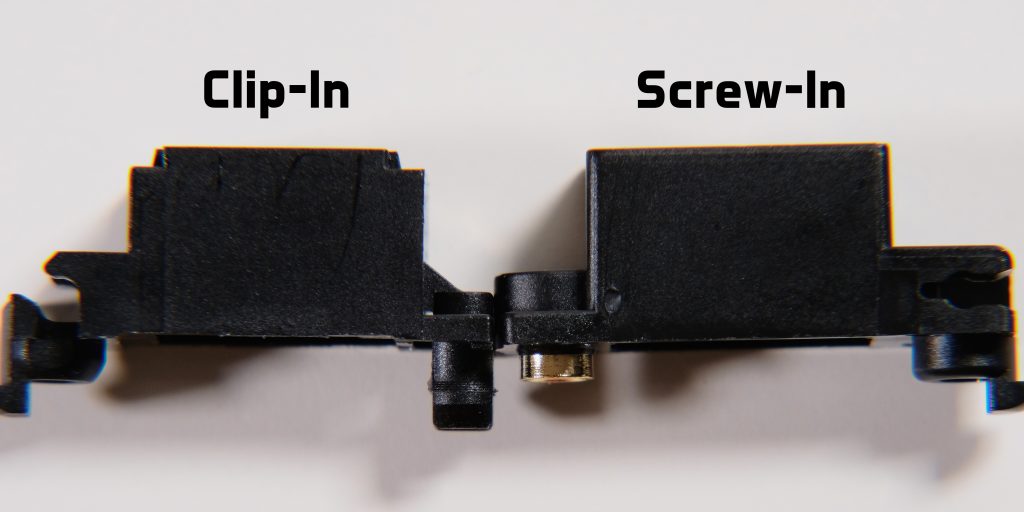
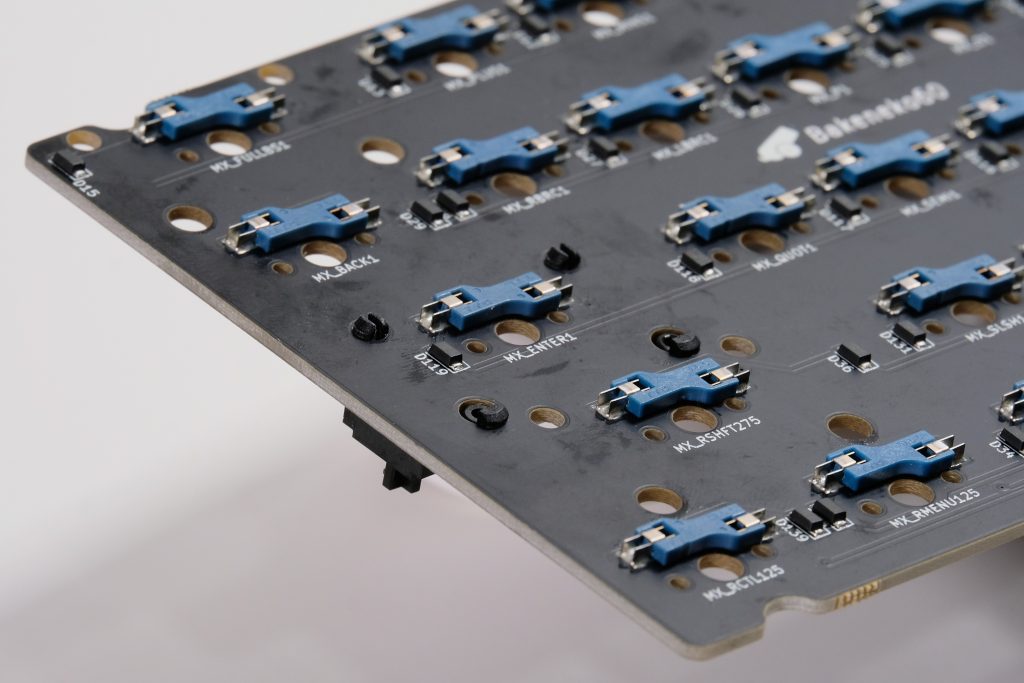
For Cherry-style stabilizers, you may also find these in two varieties: One where the stabilizers are fixed to the plate, and one where they are mounted to the PCB. PCB-mounted sets are often preferred since the mechanism for adhering to the PCB (either a two-way clip or a screw) is generally much more stable than the clip used to mount to the plate on plate-mounted stabilizers. PCB-mounted sets also may come in shapes for 1.2mm or 1.6mm thickness PCBs: For 1.6mm PCB stabilizers, they can be used in 1.2mm PCBs if they come with shims that close the 0.4mm difference to ensure they mount securely, but as such, 1.2mm PCB stabilizers cannot be adapted for 1.6mm PCBs. Many stabilizer kits also come with stabilizer pads, which are an artifact of older tolerances and modding styles that are not typically used anymore, and instead get used elsewhere such as for case force-breaking.
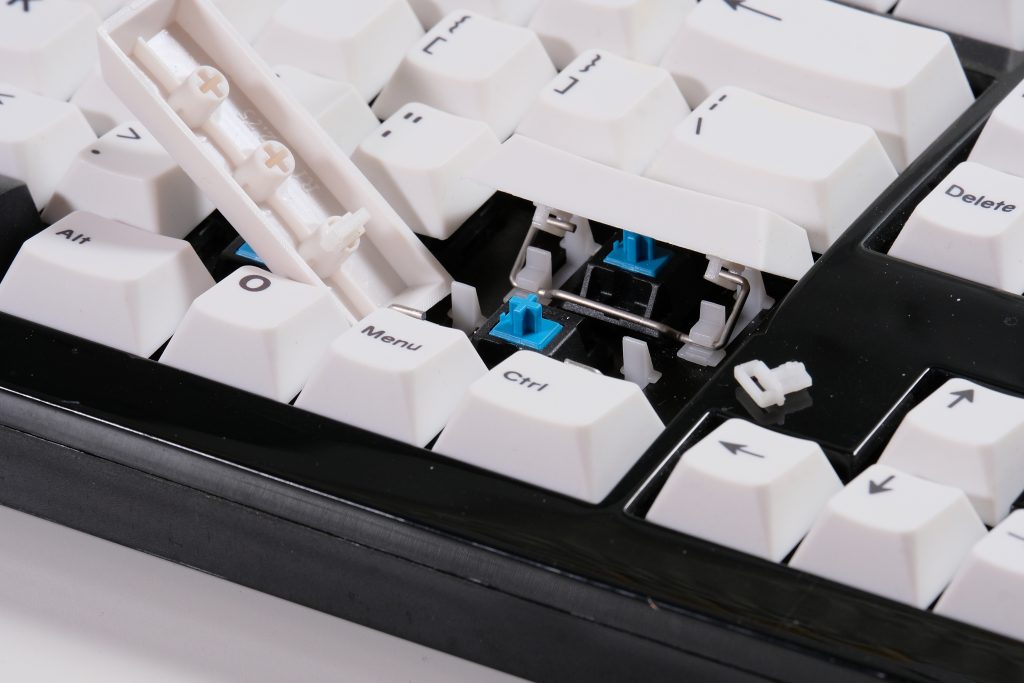
On the contrary, you may also occasionally run into the Costar stabilizer design, which rids the housings that encase the stems that hold the wire, using keycap inserts with loops instead. This design is usually only used in mass-produced boards for their cheaper part list, but is loathed by the masses for the much more frustrating process of removal and placement because of its direct attachment to the keycap. I would personally recommend avoiding these if possible, but it is still possible to make them work and sound good; you’ll just want to pull your hair out when you try to tune them.
Electrocapacitive keyboards, like HHKBs or Realforce boards using Topre-style mechanisms, such as NiZ or DynaCap, do have their own system, however I have not touched this line of boards, so I cannot currently include the process but I will be sure to come back here and update it once I have, as I do intend to make my way to that soon.
A couple footnotes worth mentioning about stabilizers is that certain case designs, especially those that rely on o-ring mounts, may require stabilizers with less bulky designs, which typically eliminates screw-in stabilizers and relegates you to clip-in stabilizers. Your milage may vary depending on the case design and stabilizer design, but I do always recommend keeping an eye out about stabilizer interference or doing a test fit before committing to tuning a set of stabilizers before finding out if they are compatible or not. There also exist long-pole variations of some stabilizer brands, but I would not recommend these simply because they do limit the switches fully compatible with them and regular ones do not generally face issues being paired with long pole switches.
Stabilizer Recommendations
For a majority of builds, especially prebuilts, I would recommend sticking with one or two brands that you know how to get a feel of to have something reliable that you can always get perfect and not have to struggle with redoing and retuning stabilizers, as not getting stabilizers one-and-done can be a frustrating process if it turns out particularly disasterous. Below are a couple that I can easily and fully recommend stocking up on a few kits of, just to have on-hand and ready for any build:
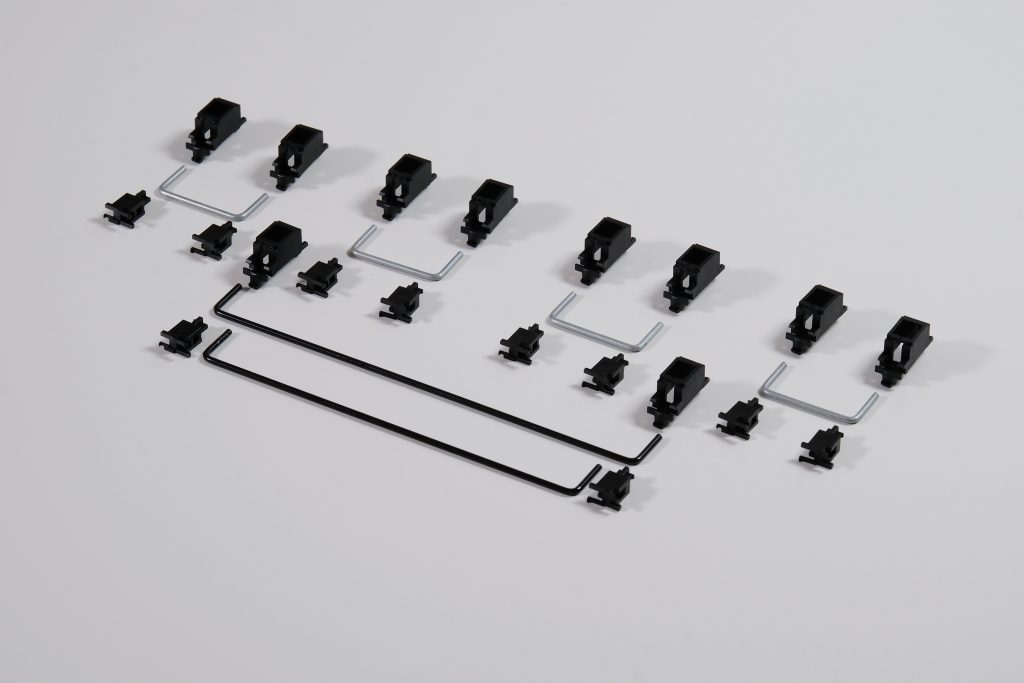
Typeplus x YIKB Stabilizers
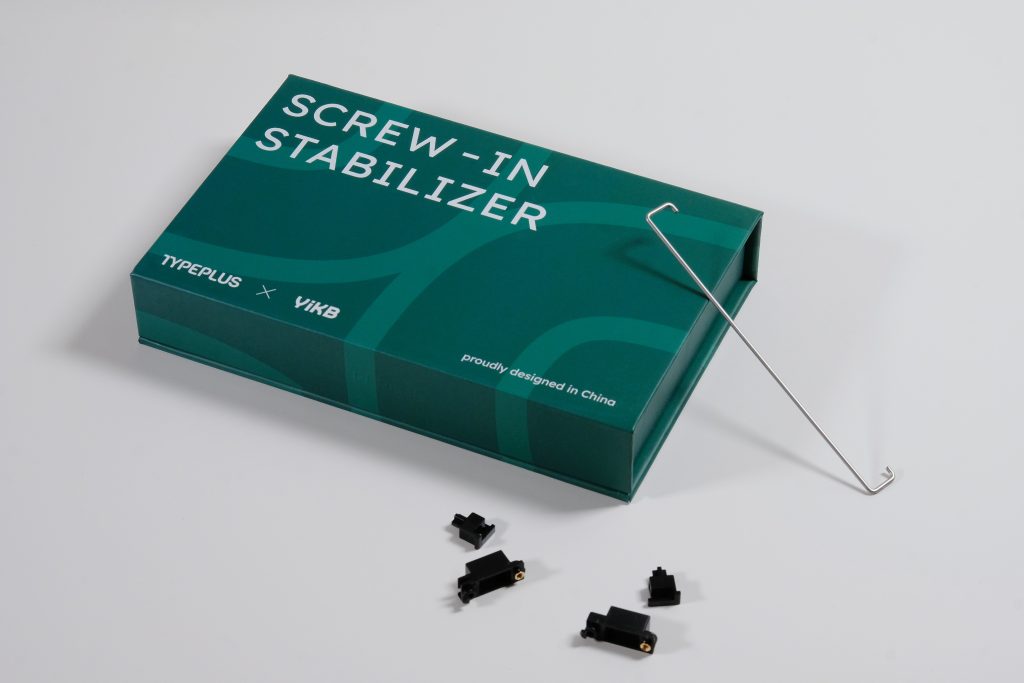
Typeplus Stabilizers for me are almost the uncontested champion of stabilizers. They do only come in screw-in for now and are on the pricier side for stabilizers (around $15USD for a 100% set as of writing which really is a fair price), and require some slightly more deliberate assembly than most stabilizers, but truly just a small coating of lube on the wire is all you need and they will simply work. I’ve had sets I used probably a sneeze of 205G0 on for about a year and are still just flawless. I will always use these in gift builds and for solder builds.
Cherry Clip-In Stabilizers
Cherry Clip-Ins are the ham and cheese sandwich of the keyboard hobby. They aren’t particularly luxurious, but they get the job done and are cheap. Cherry Clip-Ins do require clipping the stems to make them flush, but otherwise a light coating of 205G0 on the stems, and a decent coating either of that, XHT-BDZ or dielectric grease on the wire will go the mile. Well-tuned, they may still require some maintenance after a while, but once you find your flow, you can easily recreate it and make some pretty good stabilizers for very cheap. These usually go into my builds, especially ones with hotswap for ease of retuning.
Durock Plate-Mount Stabilizers
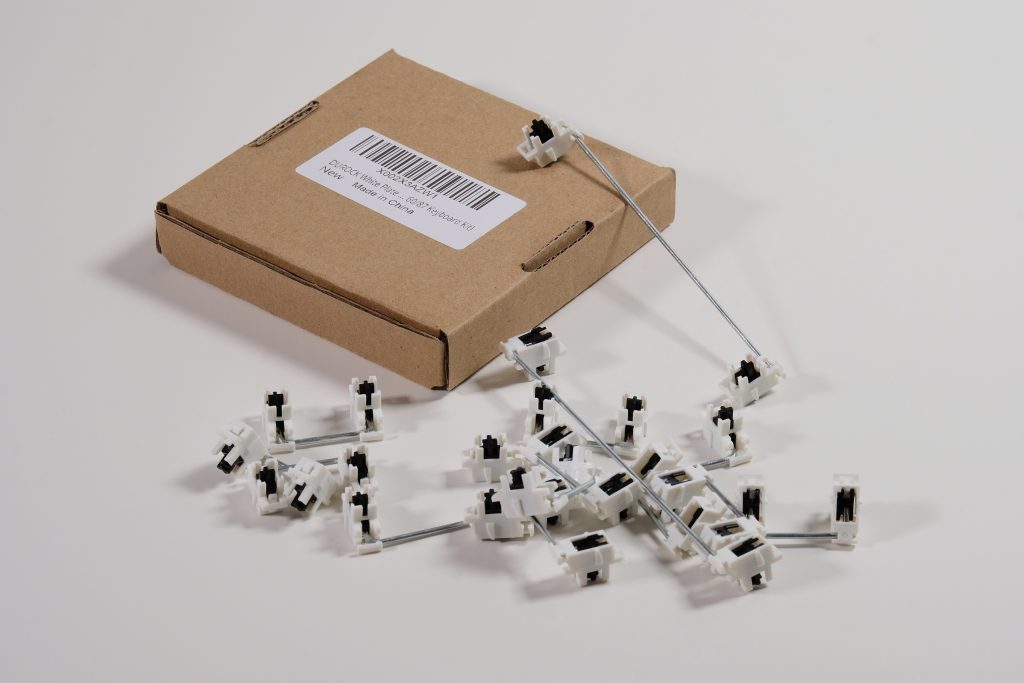
I didn’t want to keep plate-mount users behind, so I felt obligated to get a recommendation for plate-mounted stabilizers in. I used to recommend Novelkeys’ NK_ Plate Mount Stabilizers as they were fairly solid, however they have since discontinued them and only offer screw-in, so I cannot. In its stead, Durock stabilizers were in rotation frequently earlier on in my hobby experience and need a fairly similar amount of love as Cherry Clip-Ins, albeit may require some more frequent maintenance than them. They can also be gotten very cheaply, even from e-tailers.
Some honorable mentions go to: TX stabilizers, Staebies, Stupid Stabilizers, and Knight Stabilizers. Of these some I haven’t personally tried, or had issues with, but based on anecdotes are popular options and work more for some than others.
Tuning Stabilizers
Just having good stabilizers alone is not the end-all be-all to having a perfect setup, but instead makes them more inclined to being tuned and require less work, but all stabilizers currently do require some work.
The first step a lot of people take with their stabilizers is to balance the wire, meaning to ensure that the wire is as flat and straight as possible to avoid any uneven lift on either side. I do think the importance of balanced wires is slightly overstated, but it is harmless to check before assembling things together. Should you run into a wire that does appear imbalanced, you should first check that the stabilizer wires of the kit are keen to being twisted and bent. Some wires are made of a very brittle or malleable material that is intended to come perfectly straight from the factory and be mostly impervious to warping, but they do sneak past QC every once in a while. As such, the vendor they are purchased from should be contacted. Otherwise, you can make small, simple adjustments, check for straightness, and repeat ad infinum until satisfied. I do think it is more important to make sure the two protruding wire ends are level with each other than the straightness of the main wire, as you can get away with a bit of warp there so long as the warped side protrudes upward in the final assembly (looking more like a slight hill).
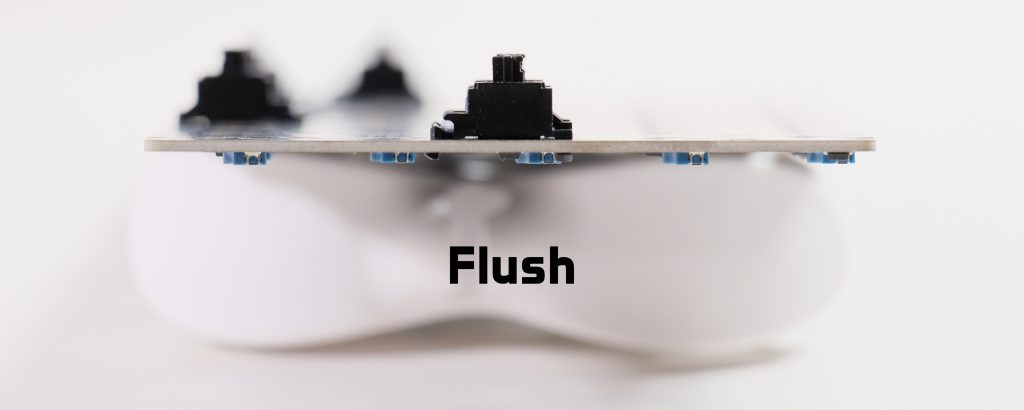
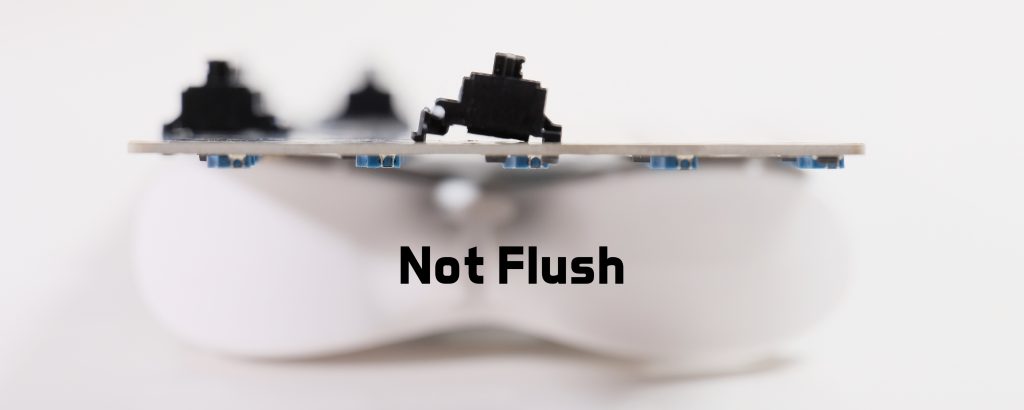
After determining the effectiveness of the wire, it’s also important to note the stem of your stabilizers. Some will come with a pair of legs that look more like fangs that stick out more than the others, of which the purpose is to dampen the impact and sound of the stabilizers, however this does come off as a more mushy feeling more often than not, and it is recommended to clip these excess legs off as flush as possible to the other legs to make the entire piece flat on the bottom. Not all stabilizer stems will come like this, as such they are considered “pre-clipped” even though clipping was not required to begin with.
Finally, the biggest piece of the puzzle with stabilizers is to lube the wire and housings. You can get away with very minimal amounts of lube on the housings, lubing them like you would with a switch. I prefer less lube, typically just 205G0, as too much can cause the lube to gunk up and suction the sides to each other, leak out the top which gets on the keycap, and out the bottom which can create a suctioning “tick” as the stabilizer lifts from the PCB. When it comes to wires, the formula may vary on your technique and which set of stabilizers you have purchased.
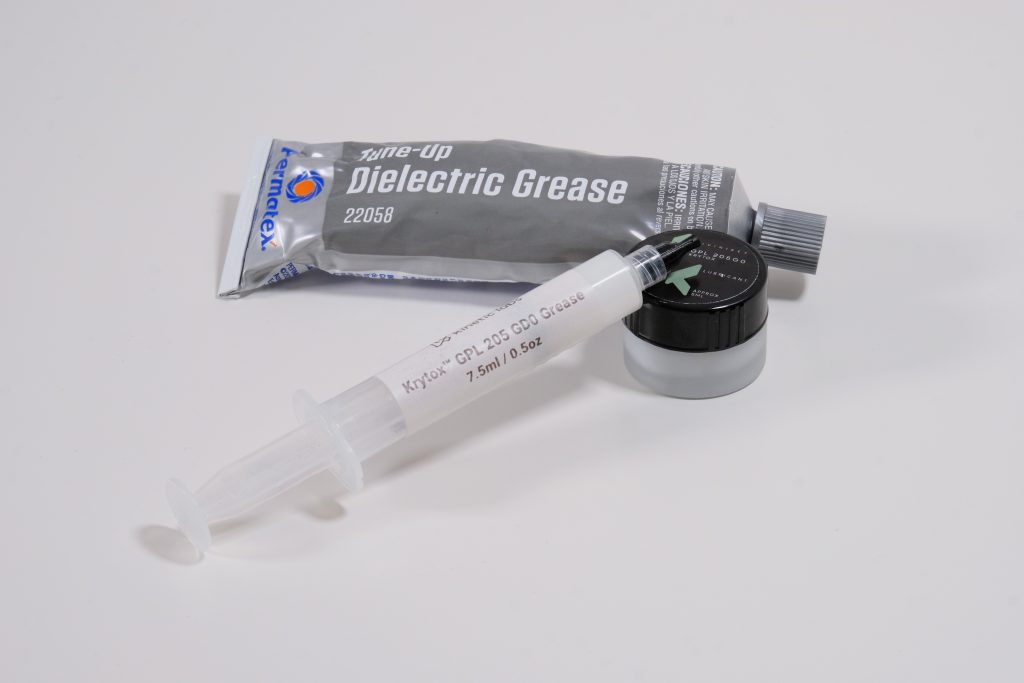
The lubricants people will reach for are typically thicker, more dense lubes as the goal is to isolate the wire’s direct contact with the housing as much as possible. So as such, people will usually go with one of three lubes: The tried-and-true Krytox 205G0, XHT-BDZ which acts more like a paste than a PTFE grease, and dielectric grease, which is in between the two others, being much more thick than 205G0, but not quite as dry as XHT-BDZ. I personally don’t go for XHT-BDZ of the options, as it is tough to remove if you do end up using too much, and is generally rather pricey for lubricants, especially one that I only will use for stabilizers; so I usually go between 205G0 and dielectric grease depending on the use-case. It also may come in handy to own one of the many lube-filled syringes that exist, ideally with 205G0 as it is the easiest to work with and should not be of cause for concern mixing with the other lubricants.
With your lubricants of choice ready, as mentioned the particular set of stabilizers you have may prefer one over the other as well as how much you may need to use. For instance, with a set of Cherry Clip-Ins, I will either use a generous coating of 205G0 that looks more like a heavy glaze that goes maybe 4mm beyond the bend, or dip the end of the wire into the tube of dielectric grease and do a light brush across the surface of the grease to keep the coating even. On the contrary, with a set of TX or Typeplus stabilizers, you may find more luck doing a much more conservative coat of just 205G0, looking more like a slight glow, again going just barely past the bend of the wire. Regardless of your methodology, you should implement the evergreen advice of: LESS IS MORE.
Should you add your stabilizers, and find that they still rattle a little bit, it is much easier to add some more lube as opposed to starting off with too much, at which point you would have to ensure you clean the PCB properly of lube residue, meticulously clean out the housing and stem of the excess lube, and then redo your wire. As mentioned before, you should keep your ear focused on if any rattle or tick noise may be a result of excess lube leaking out the bottom of the stabilizer and suctioning to the PCB, which would only occur upon release, whereas rattle will more likely happen either upon bottom out or full return back up. If rattle is indeed the case, then you can either attempt to scoop a small amount of lube onto the wire inside the stem, and the part where the wire clips into the housing, and repeat until cooked to perfection. The aforementioned lube syringe is also a much easier way to apply additional lubricant to your stabilizers, but you will need to get a feel for how fast your syringe expels as it can be easy to press too hard and inject far more lube than intended. As you add more lube, it is also worth repeatedly pressing the key the stabilizer is attached to in attempt to move and spread the lube around with the motion of the wire going up and down, as sometimes the lube will need to work its way out of the more dense areas that you filled in to get a more even spread.
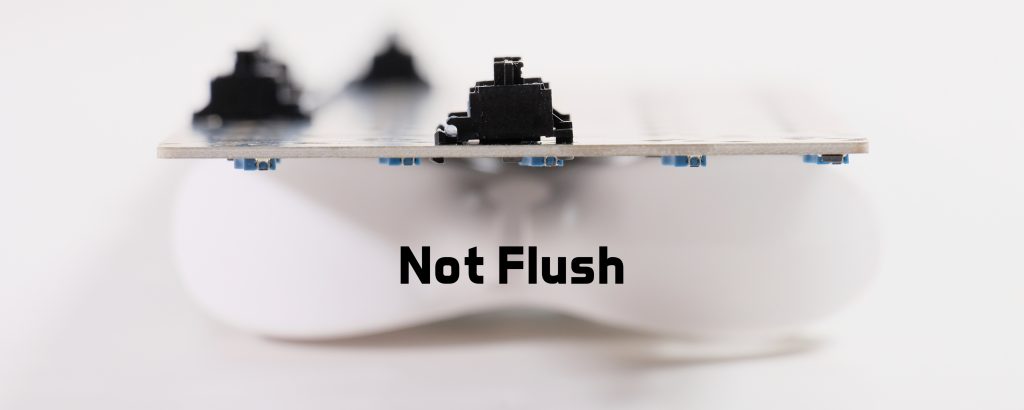
Finally, the last thing to look out for is that your stabilizers are firmly in place and are flush with the PCB. Stabilizers should not rock and there should be minimal, if any space between the underside of the stabilizer and the PCB. If you experience these, ensure that the front of the stabilizer is fully hooked through the PCB and that the mounting mechanism is fully engaged, whether it is the clips for clip-in and plate-mount stabilizers or that the screw is fully threaded in (finger-tight) for screw-in stabilizers. Mill-max sockets installed into a PCB can also interfere with stabilizers in some cases where a split option is available, but you should hopefully understand this if you are working with mill-max sockets in the first place. For plate-mounted stabilizers in particular, if they experience any looseness, you may want to experiment with adding increasing amounts of tape to the plate where the stabilizer clips in to close the spacing and make it fit tighter. As a result of closing the space (or using a set of stabilizers with very tight tolerances cough cough Staebies), you may also encounter the stabilizer mechanism binding if the housings are set too tight, and may need to either remove tape or very slightly shave your plate to make enough space.
And that’s about it! It seems like a lot of daunting information, but as mentioned once you find a couple brands that work for you and a method that works consistently, it really becomes just another mindless 10-30 minute chore on the way to perfecting the art of the keyboard build. Some snags may come along the way as you get used to the process, if you find the rare manufacturer defect in the stabilizer or lube, or simply just have an unlucky day, but once you have that sweet spot, you’ll be modding near-perfect stabilizers every time.
If you want additional reading content about the best stabilizer kits and some more particular guides of how to treat them, I do recommend checking out Alexotos’ article The Best Mechanical Keyboard Stabilizers, which is kept pretty up-to-date as the market changes and new stabilizers come up from the woodworks.
This article is not sponsored or compensated for in any way. This article falls under Fair Use and adheres to the Copyrights of the mentioned brands. Any mistakes, feedback or clarifications may be directed to askme@cheesemanfuu.com.