
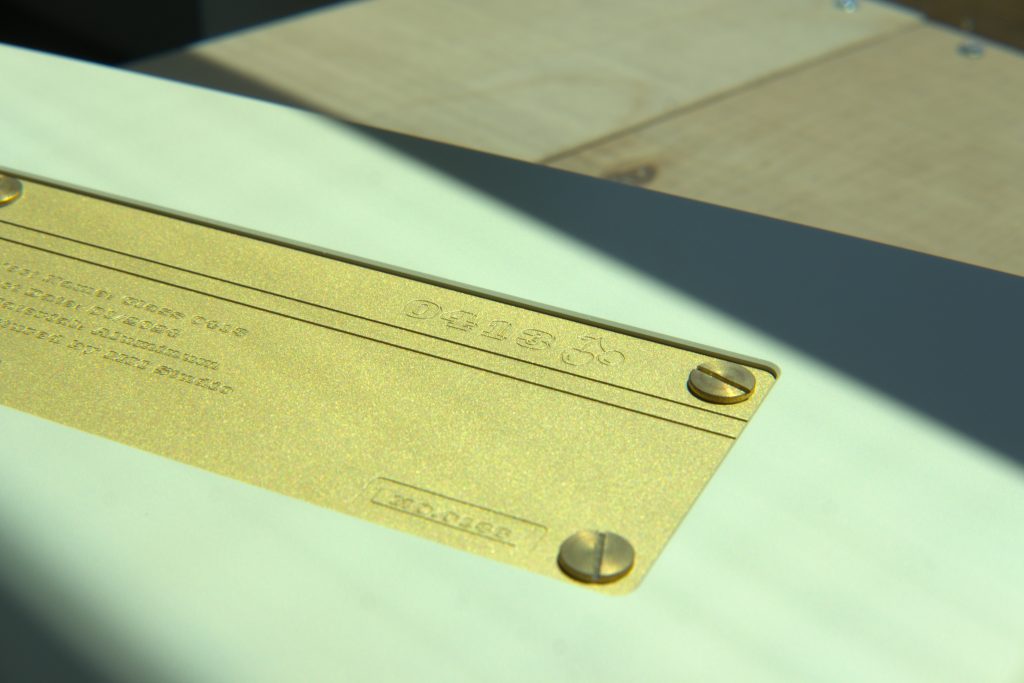
Class 0413
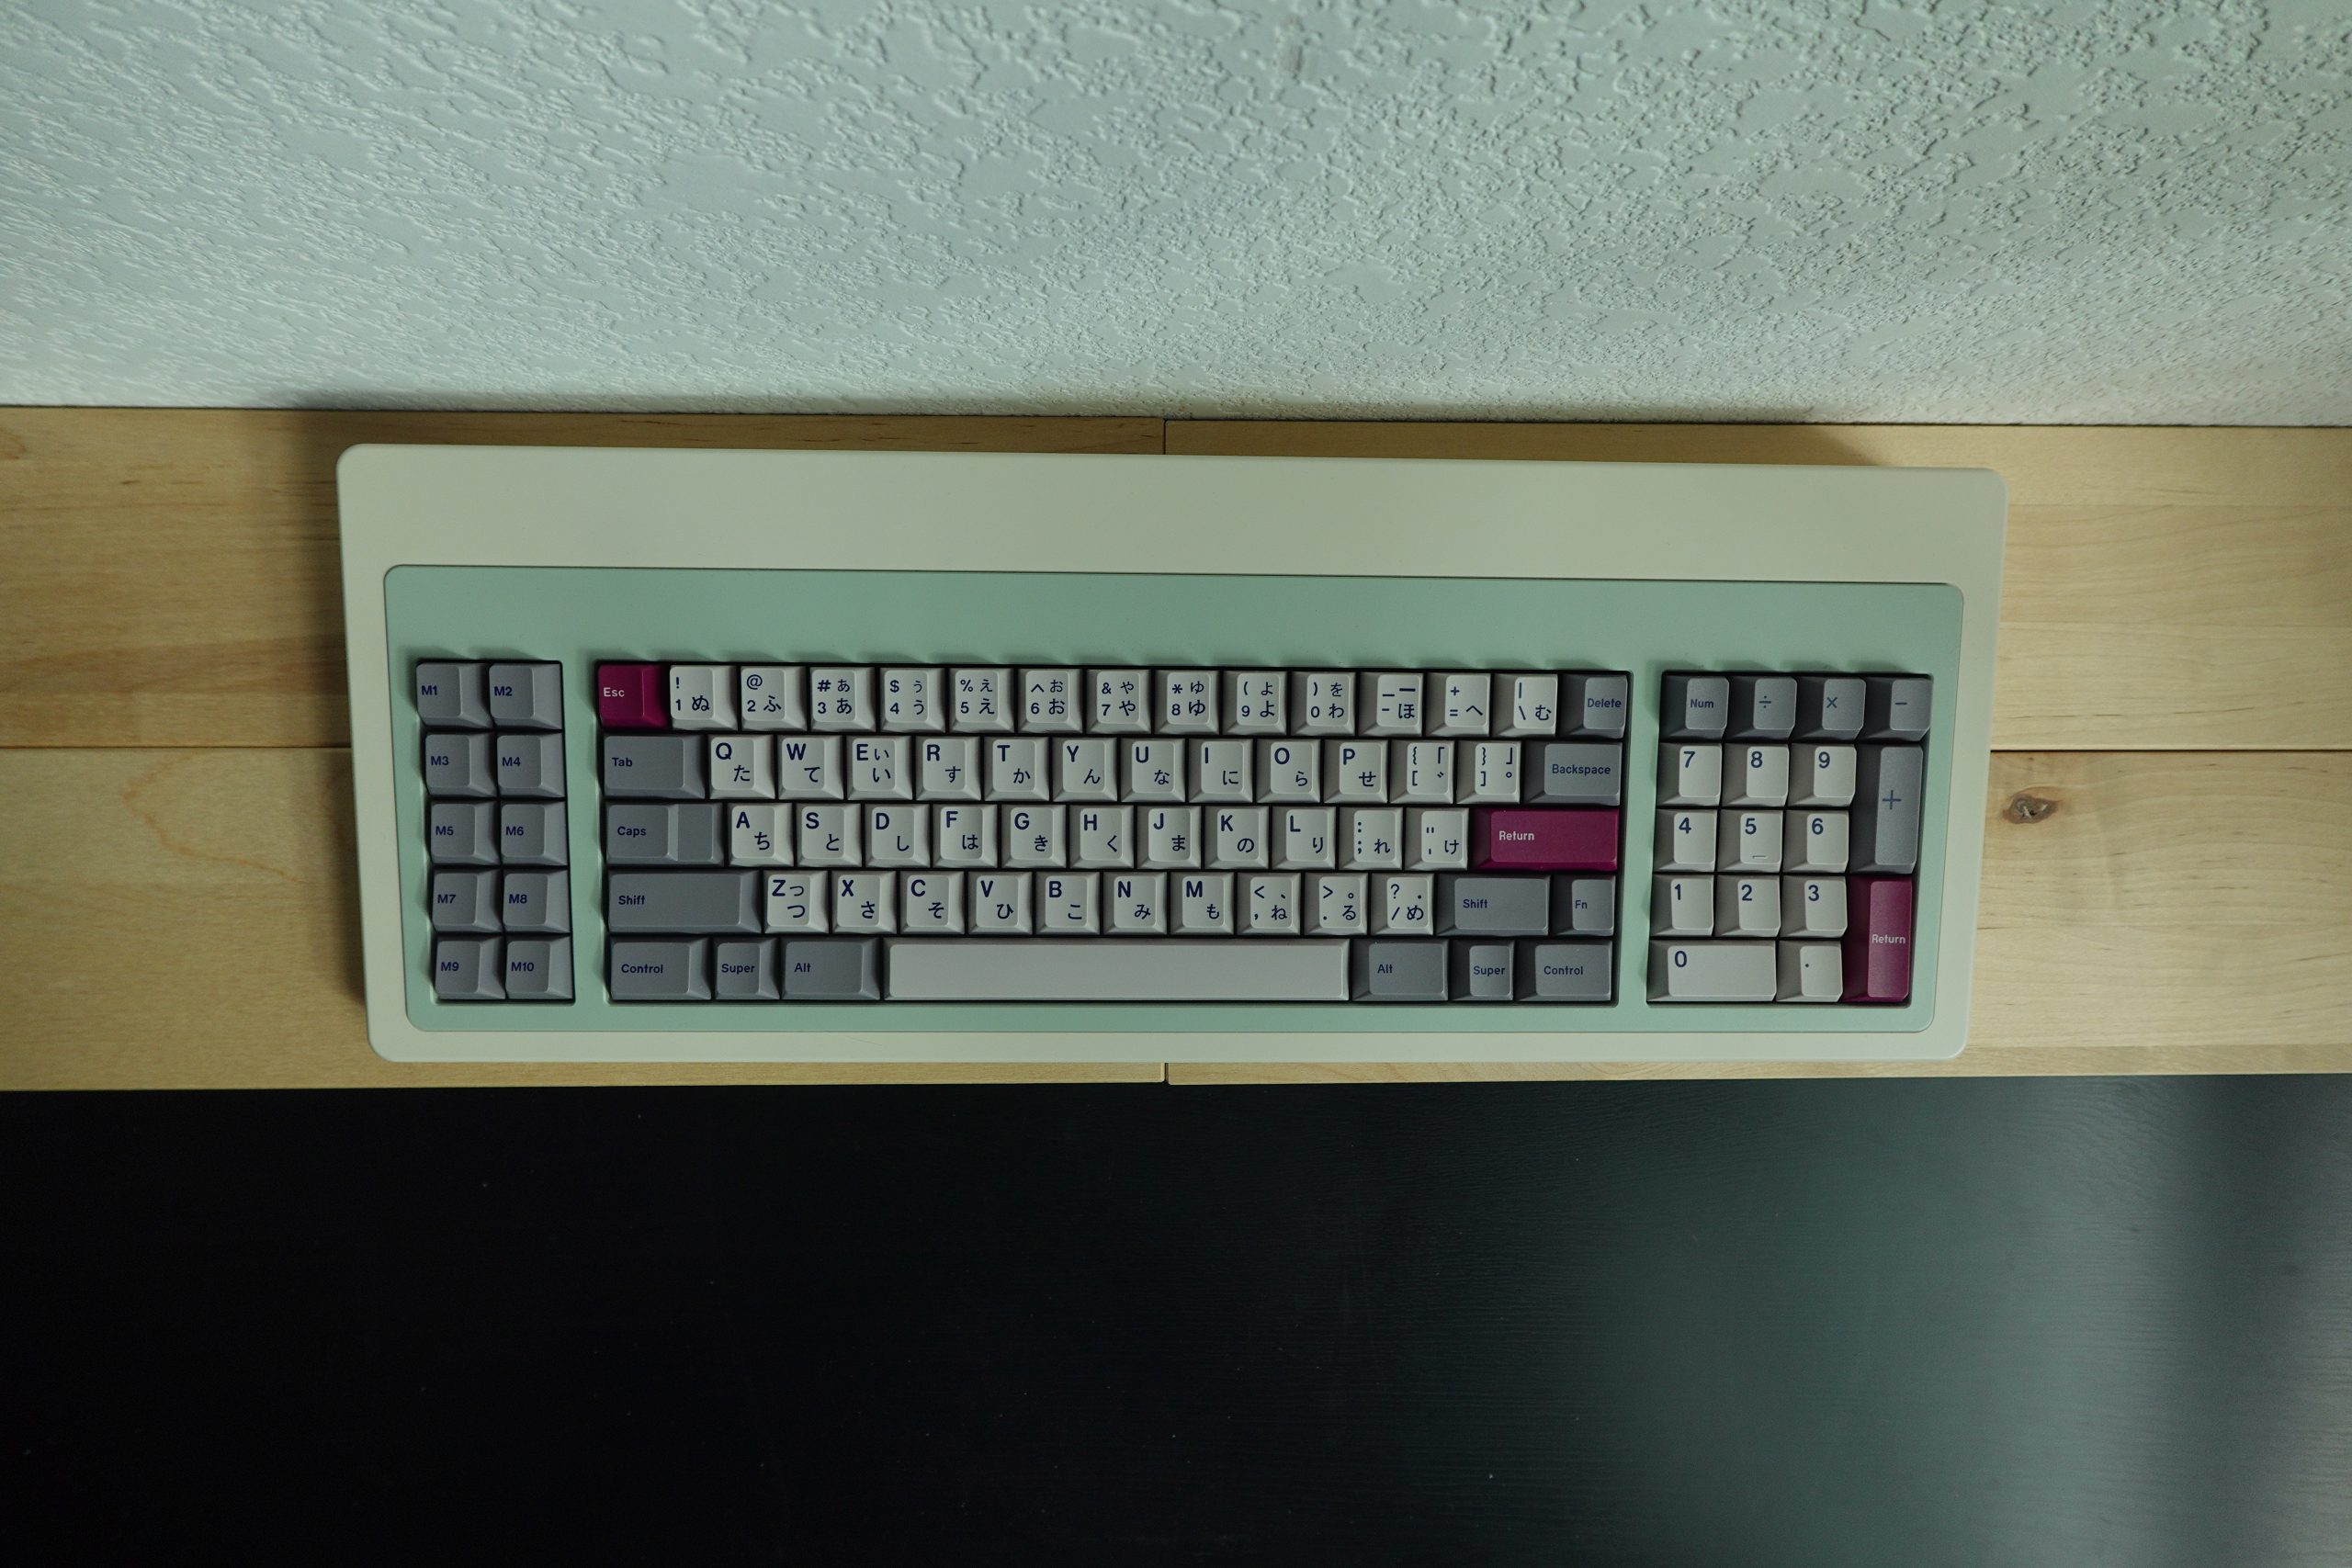
MMStudio creates a lot of statement pieces out of their Class series boards, inspired in one way or another by vintage keyboards. For a while, a Class board was on my bucket list, but the only one that ever spoke out to me was the original Class 80, but I never really felt the need to pull the trigger on one. Something held me back for some reason, despite the overwhelmingly positive reaction towards that board and its successors. However, when I saw alexotos build a Class 0413 with the default colors of Retro E-white (beige) and Retro E-gray (green) topped with GMK DMG, something clicked. I needed that build. Plus, it has a funky little layout.
Design/Aesthetics
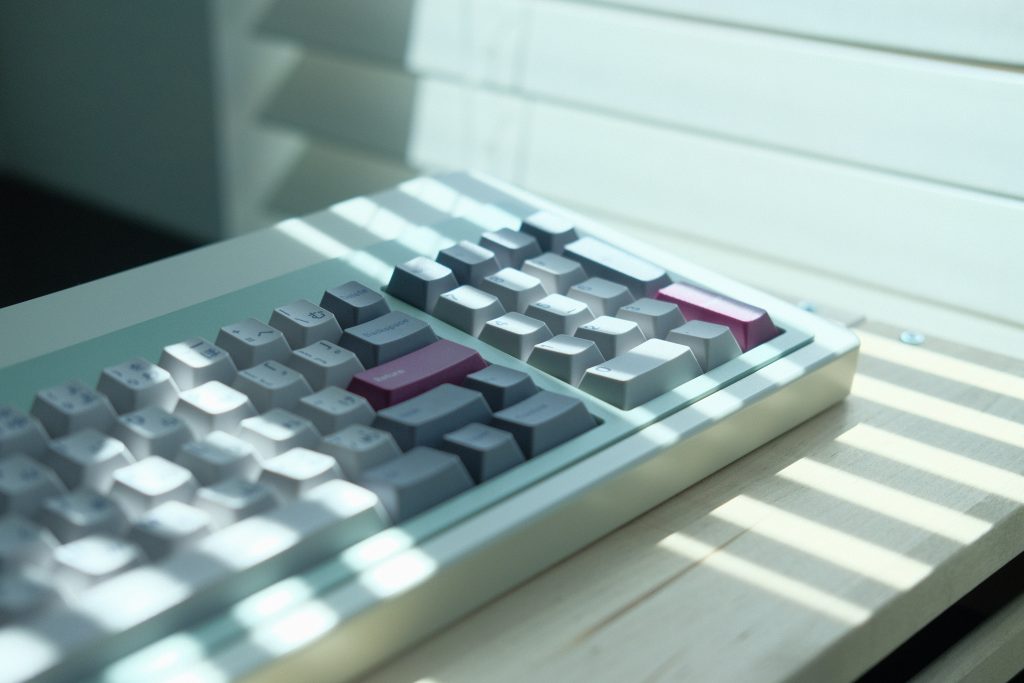
The Class 0413 takes after the namesake G80-0413 by Cherry in its design other than the layout, which is the more common IBM Model F layout, something probably best described as an FRL 96% with AT columns. The forehead is also slightly toned down since in this case it’s purely aesthetic. Similar to a lot of older boards, the side profile is a simple wedge design, no seam or anything present. It’s a very simple design, but that’s just how vintage boards were before a mechanical keyboard was an everyday luxury consumer product.
When it comes to my configuration, the naming convention of the colors is odd. Retro E-white is a very weird way to say E-coat beige, and Retro E-gray is not even gray, it’s green. I do get how it’s retro, but to say gray doesn’t make sense to me. Nitpicking? Definitely. The so-called E-gray is also slightly sparkly, looking closer to an anodization or one of Matrix’ fun sparkley coatings than an e-coat, which isn’t a complaint, just an observation.
Assembly
The 0413 is only a couple pieces, with the top case being more of a cover to hold the PCB assembly in place rather than a shroud to hold everything together like most two-piece cases are. There is a separate compartment in the bottom case for the daughterboard, however it came pre-installed so you don’t need to remove it, but it is funny to see a hefty block of brass milled specifically to hold the daughterboard. Both cases are held together with a hidden screw design, having 10 total screws around the perimeter. It’s also important to note that when you are building the board, there are four rubber alignment standoffs that go into the case interior.
For mounting the PCB, you are given a couple options. More excitedly, the gasket mount is offered in a way that can be done plateless if you desire. However, the gaskets offered are very thick silicone sleeves that have a very tight fit. I far preferred putting on some spare Keychron poron gaskets I had lying around as the silicone sleeves caused too much friction against the case causing it to have a more thuddy sound profile, while the Keychron sleeves sounded more traditional to the gasket mount.
Then you are also offered the alternative, more safe option of top mount, but you do need to be mindful that you install the aforementioned alignment standoff, as the top mount instead of using a loop to hold the screw, uses a slit protrusion that make it so the plate can slip off after enough pressure.
PCB and Firmware
Both the solder and hotswap PCBs, whether you go regular or southpaw, are nearly interchangeable when it comes to layout options. The only pieces missing out of the hotswap layout are a 6.25u bottom row and the numpad splits (0, + and enter), as even the hotswap PCB includes ISO compatibility. The PCBs also come in a yellowish tan color that appeared to have a very slight amount of transparency, giving the allusion that it might be a CEM PCB, but I couldn’t find anything to substantiate this. The only issue I ran into with the hotswap PCB is that the split right shift and its associated right key are north-facing, meaning it did interfere with my switches, but it was easy enough to swap to a spare Kailh BCP for something with a shorter travel distance.
The daughterboard is not a universal daughterboard, for the reason that it includes MMStudio’s signature beeper and solenoid features on it. They can of course be toggled through keystrokes that are assigned using Vial, rather than Via. With that in mind, the PCBs are of course vial-ready QMK PCBs that will not show up in Via due to the beeper and solenoid features. In the good graces that MMStudio has a great idea, they have provided gerber files for the PCB and assumedly the daughterboard as well, so once this board is out of production, extras able to be made and/or modified when necessary, which is very much appreciated.
Typing Experience
I did a couple builds of the 0413 so I have two decently different experiences with this board. The first build, which is what I use most often, is a simple top mount using Polycarbonate and HMX 1989s to match with the GMK DMG I got specifically for this board. Long pole travel aside, the 0413 is a little more stiff for a top mount, but it still has enough flex that it’s not overly rigid and doesn’t dull out the feel of each keypress across the PCB assembly, especially towards the spacebar which is fortunately void of any mount points. The sound gets drained a bit from how simply dense and massive this board is, so a long pole is recommended but not necessary. When built in this configuration, there is a lively, poppy sound that I think is closer to what most people think is “marbly,” but without the need for foam. It’s a slight deviation to what I normally go for, but I still love it.
When it comes to the gasket mount, I actually committed to a long-running meme of doing plateless vintage MX blacks that I acquired from a Wyse 50 in 2023 (which I ended up mixing parts for because they were so dirty and needed to be ultrasonic cleaned…). When a more vintage-themed board like this came through, it was inevitable. Needless to say, I will never do a plateless soldering of 3-pin switches again. As mentioned before, the original silicone gaskets were honestly kind of dreadful. Between the very tight fit and just the nature of a big rubbery sleeve, while the PCB still exhibited flex, the board ended up having a lot of resonance and pinging on its own while having little to no bounce. Once I was fed up enough, I eventually grabbed some spare poron gaskets I had from my old Keychron boards which very much helped clean up the sound, didn’t shift around despite to the more lenient fitment, and gave the board its sound and feel character back. I still prefer the top mount sound overall, but the plateless build is still fun to pull out here and there.
Overview
The 0413 was my first group buy keyboard and I do not regret it. It did have some slight delays (meant to fulfill in September but went more to late-November) but I am overall pleased with the experience. The only thing I’m left wishing for is a proper carry case for this behemoth as it only came in a box that I can best describe as industrial cardboard. The keyboard function is top-notch, the design is simple but classy; it’s an overall statement piece and I don’t regret it a bit.
| Class 0413 |
|---|
 |
| Case Material • Aluminum (Case) • Brass (Internal Weight, Bottom Badge, Daughterboard compartment) |
| Plate • Plateless • Aluminum Plate • Polycarbonate Plate |
| Mount • Gasket Mount • Top Mount |
| Included Parts • Screwdriver and bits |
| Cost • $375 (case and PCB/Plate) • $30 (extra Aluminum Plate) • $30 (extra Solder PCB) • $12 (Foam) |
| Release Date • 2024 |

Gallery


This article is not sponsored or compensated for in any way. This article falls under Fair Use and adheres to the Copyrights of the mentioned brands. Any mistakes, feedback or clarifications may be directed to askme@cheesemanfuu.com.